Whether you’re getting ready to embark on a long road trip with your RV, or just looking for ways to improve the efficiency of your current vehicle, installing a solar panel is an excellent option. Not only will it provide additional power to your battery and help reduce energy expenses over time, but once it's up and running, solar panels are typically low maintenance. In this post we'll provide step-by-step instructions on how to install solar panels on rv as well as some tips and common mistakes to avoid when getting started. With this blogpost as guide you'll have all the tools necessary to get started off right in no time!

What Are RV Solar Panels?

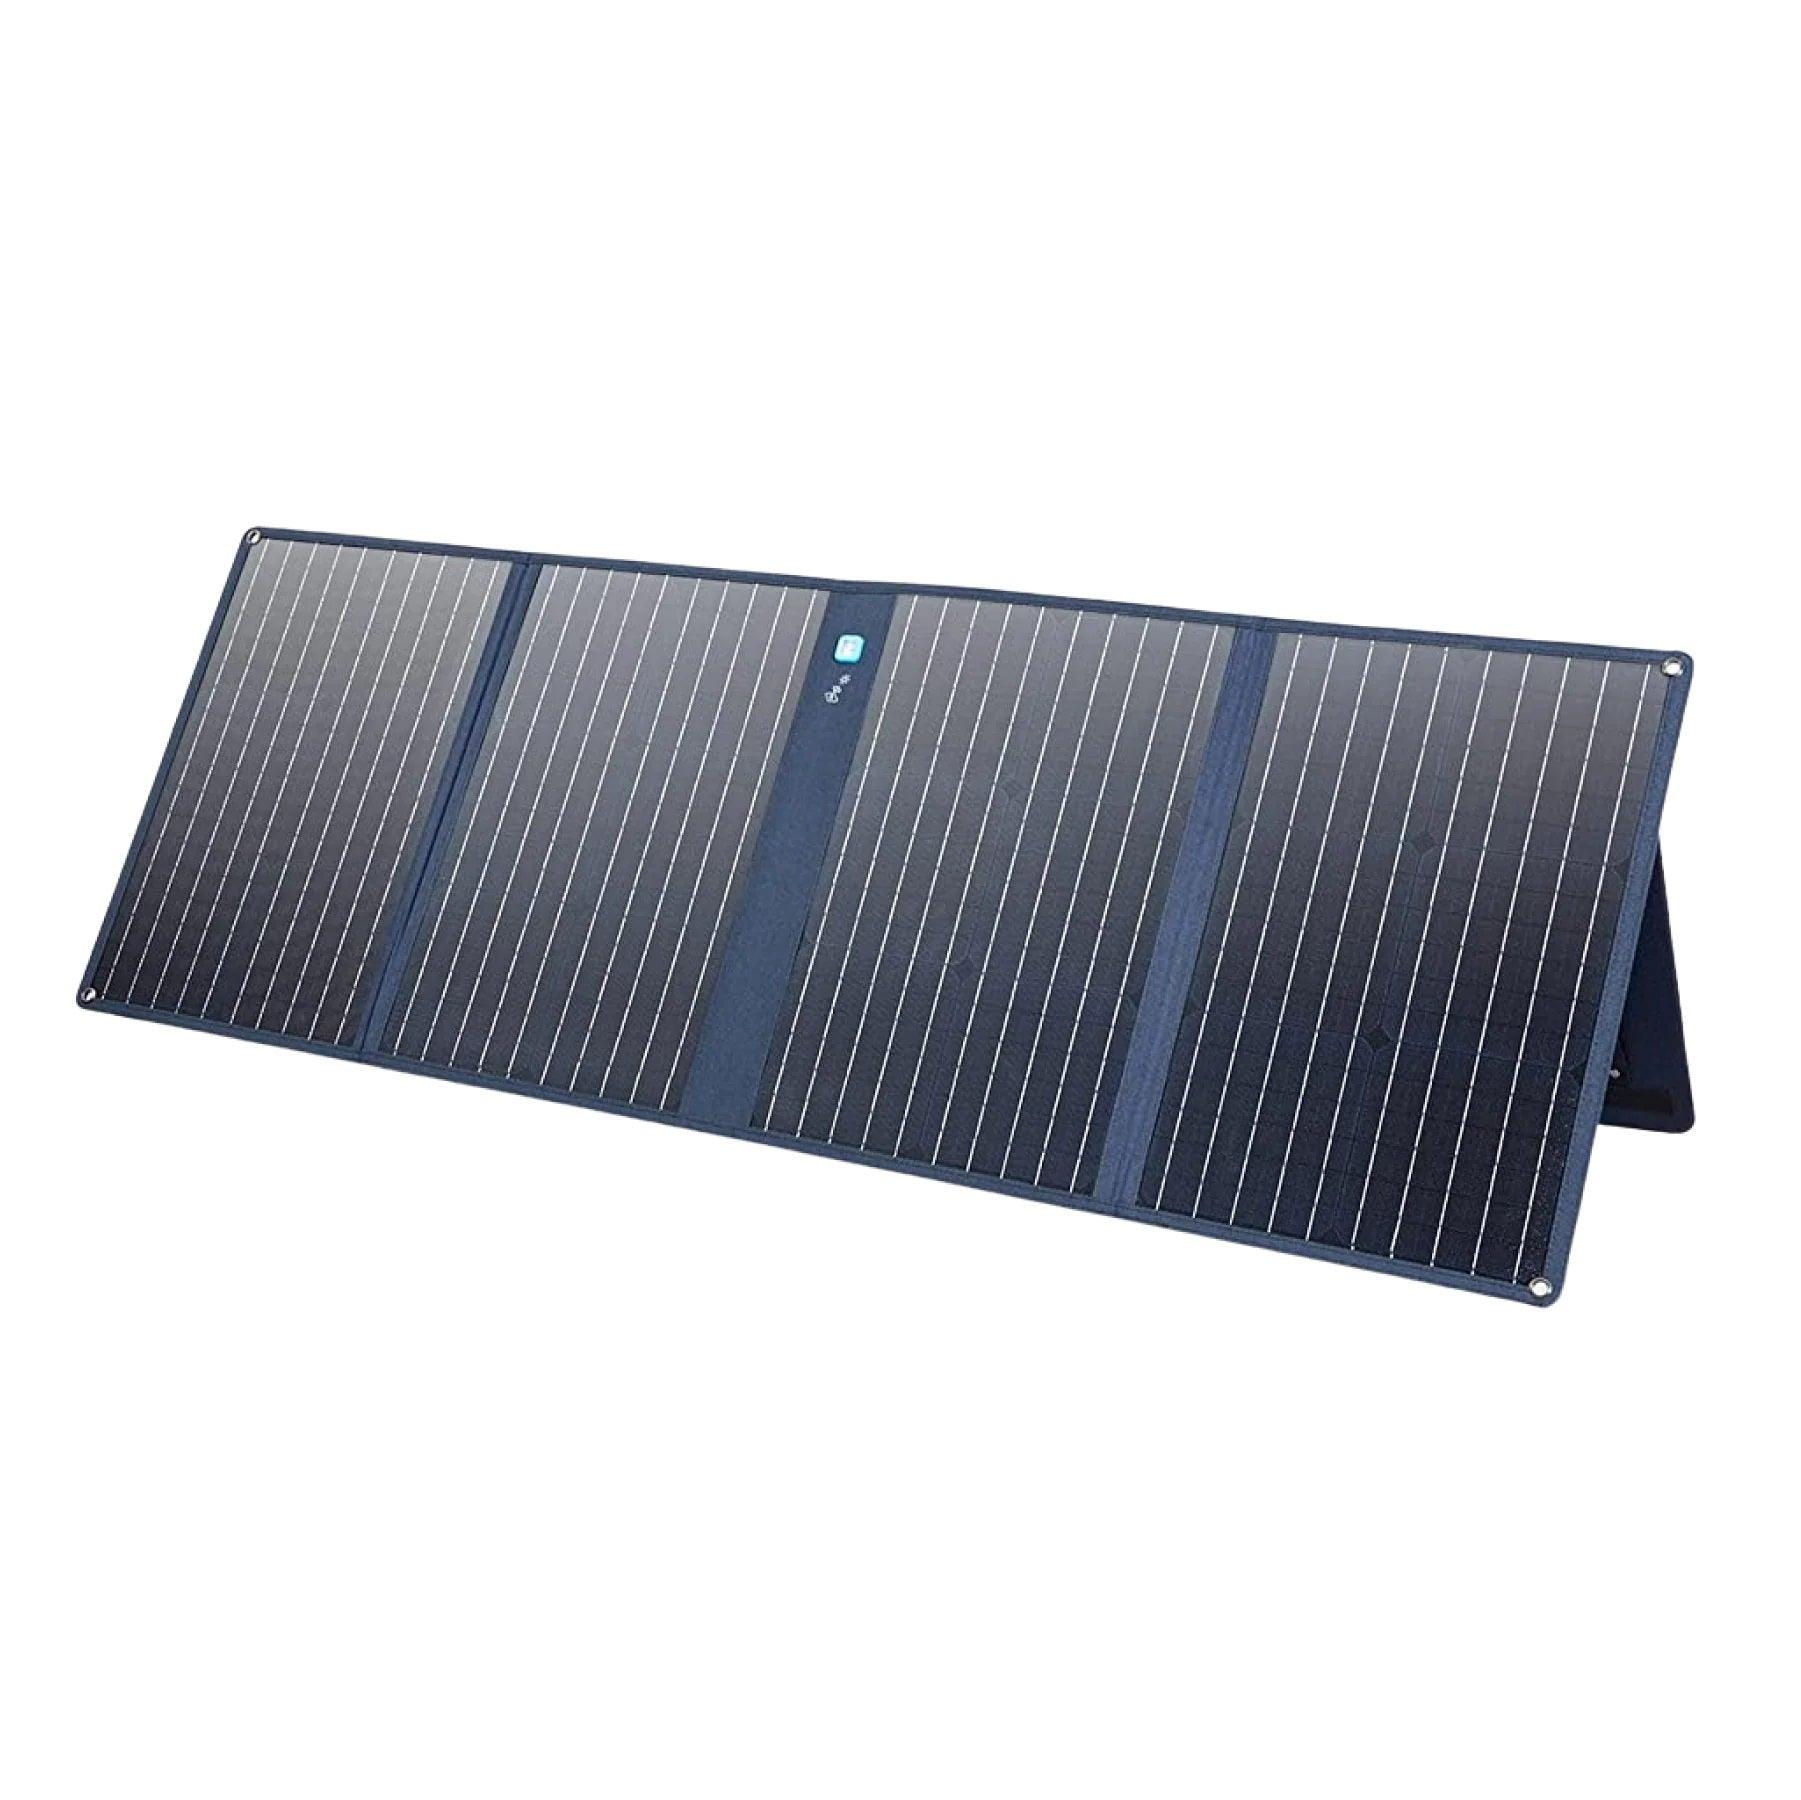
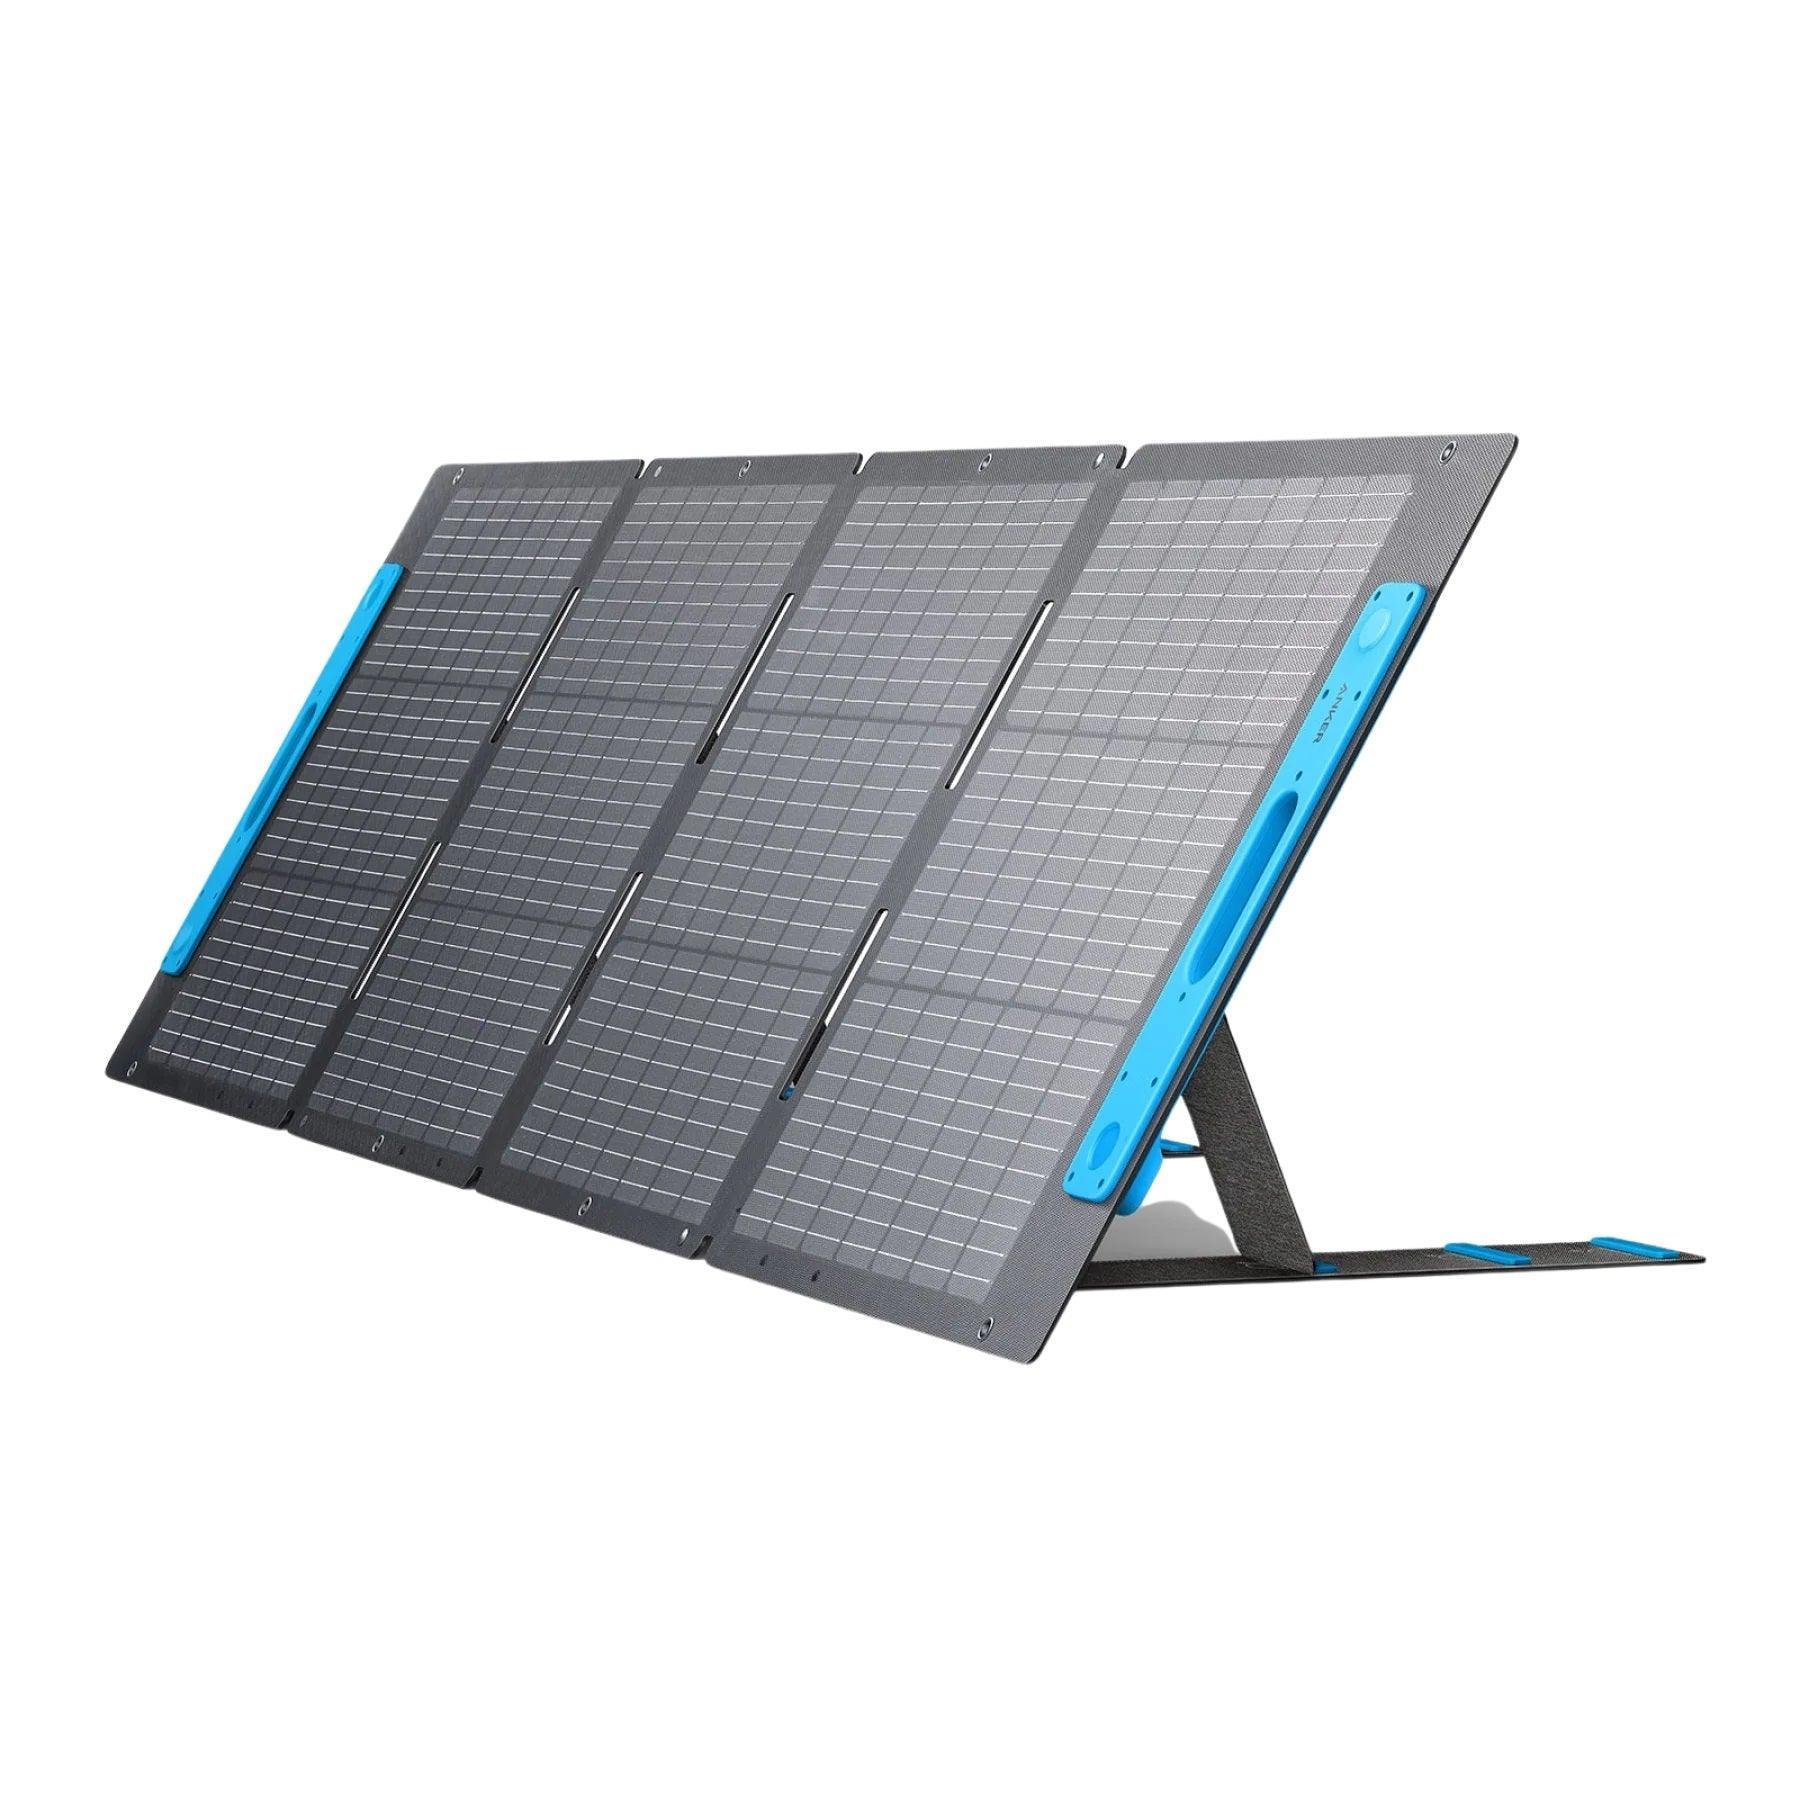
RV solar panels are the modern adventurer's key to unlocking sustainable and self-sufficient power while on the road. Solar panels that can be installed on RV, also known as photovoltaic (PV) panels, are composed of interconnected solar cells made from semiconductor materials like silicon. These panels are often installed on the roof of recreational vehicles (RVs).
When exposed to sunlight, these cells generate electricity through the photovoltaic effect. This electricity is then harnessed to charge batteries and power your RV's lights, fans, water pumps, kitchen appliances, entertainment systems, and more, offering an eco-friendly alternative to traditional power sources.
How to Install Solar Panels on Your RV

If you've ever wondered, "Can I install solar panels myself?" the answer is yes. Imagine turning your RV into a self-sustaining solar power station, allowing you to embark on off-grid adventures while minimizing your carbon footprint. Here's a step-by-step guide to installing solar panels on RV:
Before You Begin
- Ensure you have the necessary equipment: solar panels, portable power station, strut channel, brackets, drill, adhesive tape, DC wires, wire stripper.
- Make sure you're comfortable with electrical work or consider seeking professional assistance for larger systems.
Mount the Solar Panels
- Plan Your Solar Panel Layout: Before embarking on the installation journey, visualize where your solar panels will be placed on the RV roof. Consider the orientation for maximum sunlight exposure and avoid areas shaded by roof accessories.
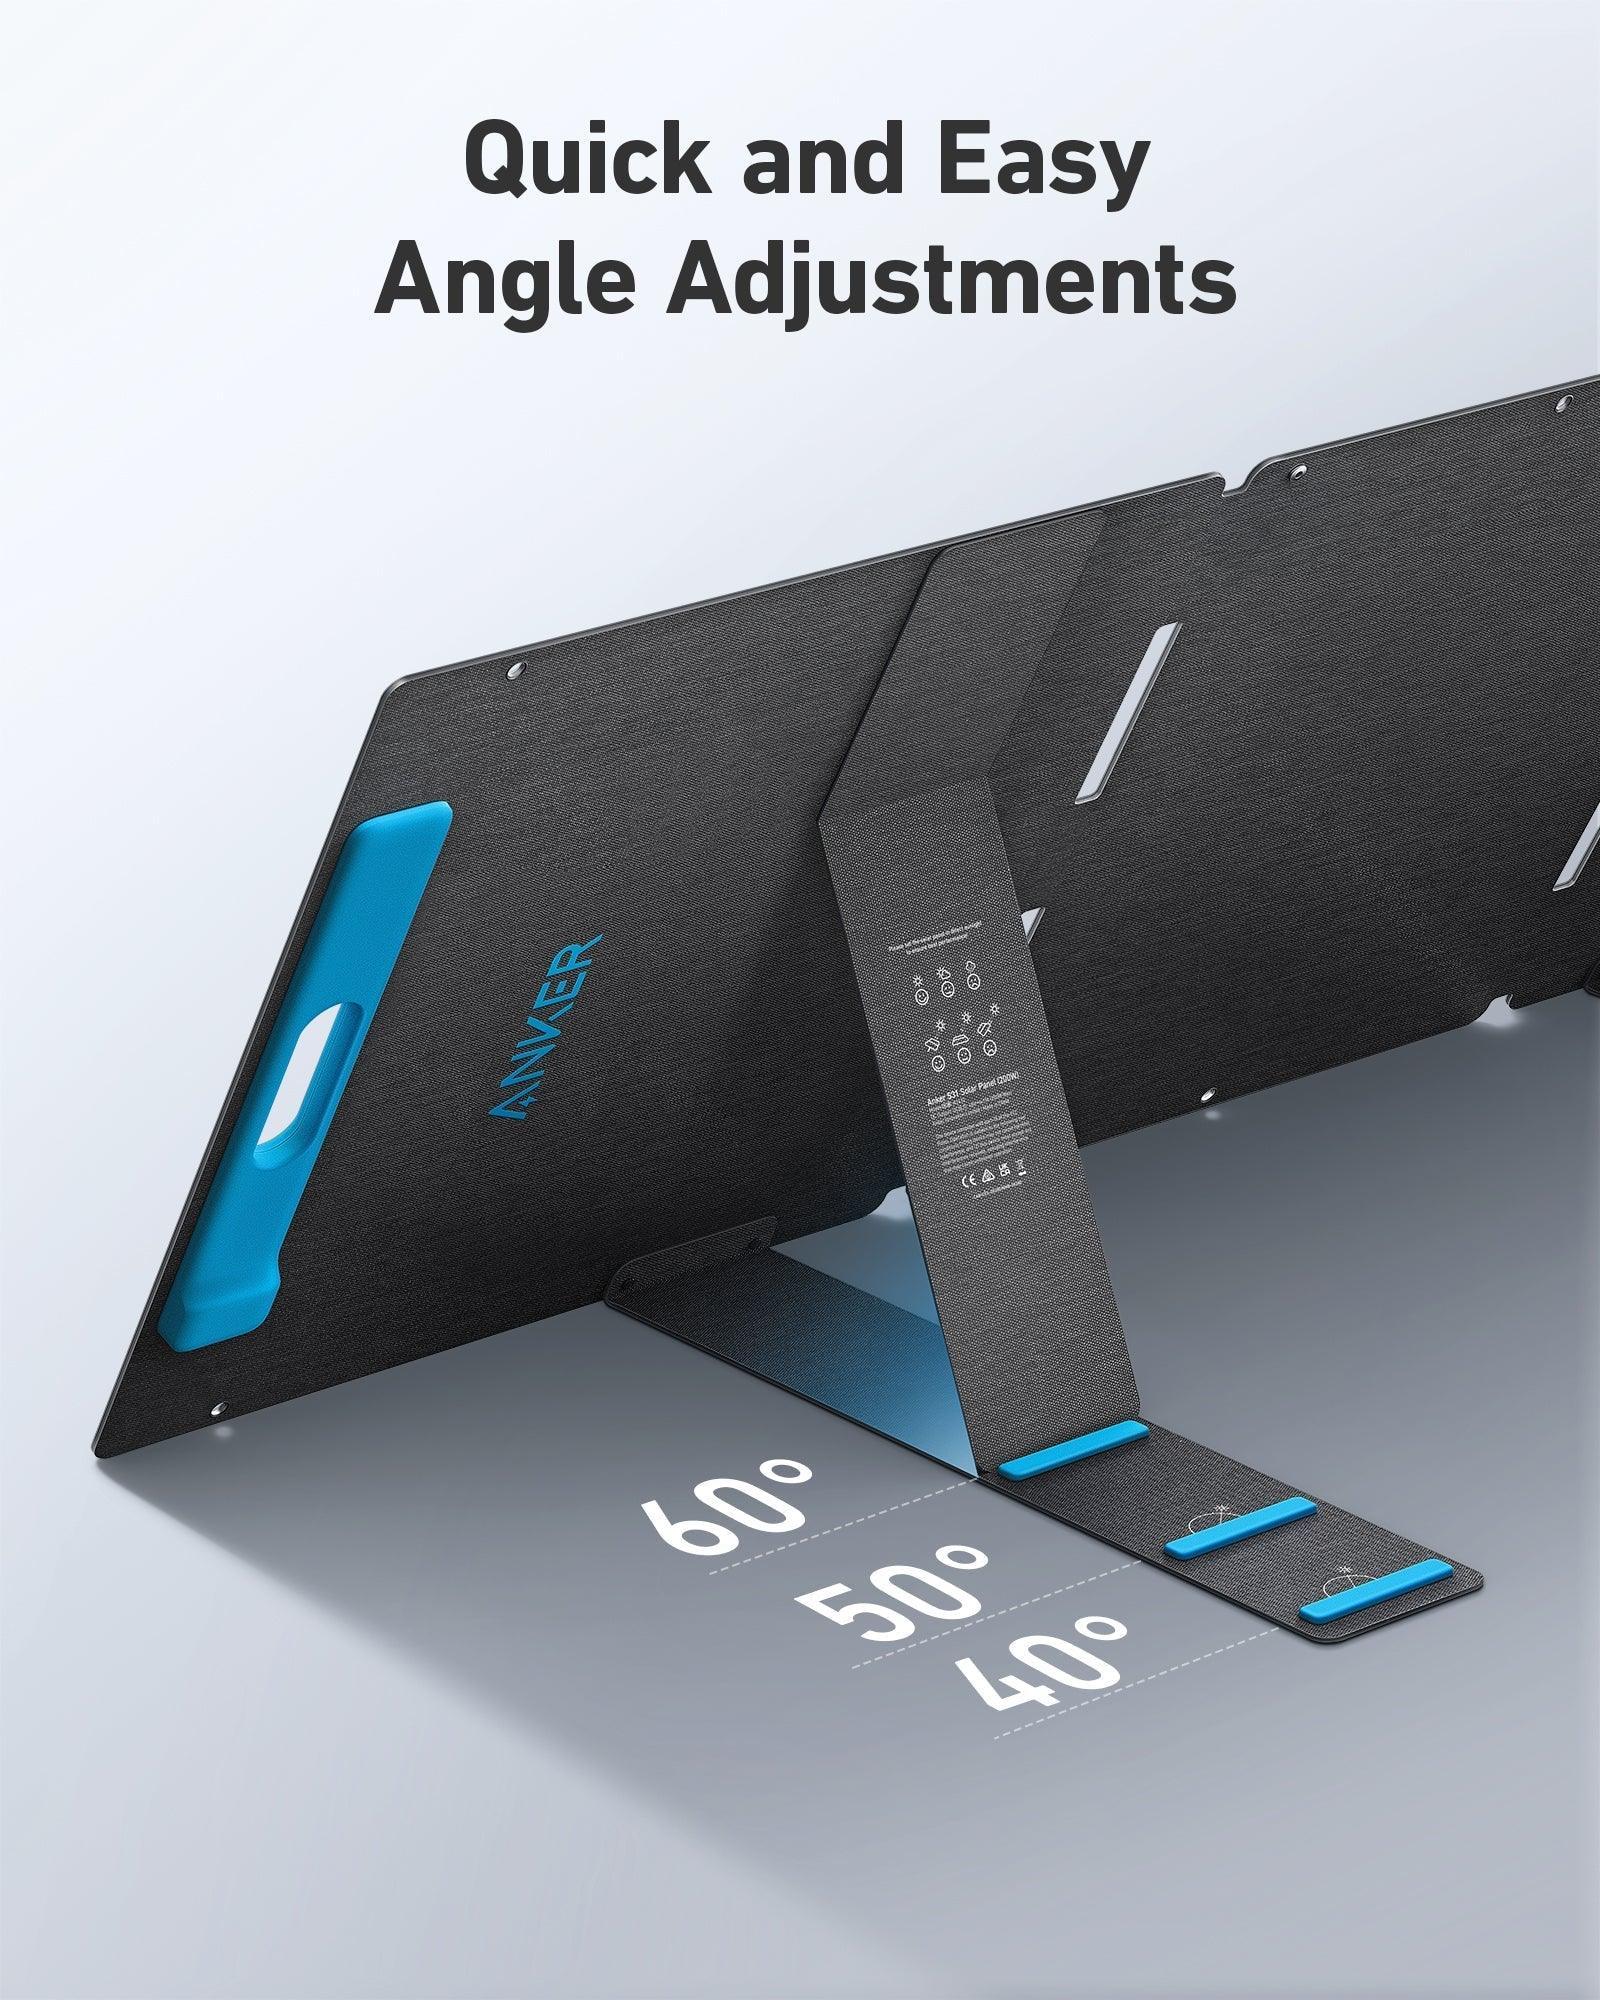
- Choose Your Mounting System: Depending on the panel type, you have options: fixed, flexible, or tilt mounting. Fixed mounting requires drilling holes and affixing brackets to secure rigid panels. As to flexible solar panel rv installation, it can be adhered to using adhesive tape. Tilt mounting lets you optimize panel angles for improved energy absorption.
- Prepare the Roof: Inspect the roof for any damages or leaks. Repair these issues before proceeding with the installation to ensure a solid foundation.
- Secure the Panels: For fixed mounting, drill holes into the roof according to your planned layout. Attach mounting brackets or frames securely to the roof, applying sealant underneath for watertight protection. Affix the solar panels to the brackets or frames, ensuring a snug fit.
Run Wires for DC Appliances
- Route the Wires: To power your RV's DC appliances, plan the route for the wires that will connect them to the fuse panel. Conceal wires along the ceiling and trim for a clean look.
- Choose Proper Wiring: Select appropriate wire gauge based on the length of the wire run and the power requirements of your appliances. Larger appliances may require thicker wires.
Connect a Charge Controller and a Battery
- Position the Charge Controller: Install the charge controller inside your RV, close to the battery bank. This device regulates the energy flow from the solar panels to the batteries, preventing overcharging and optimizing battery health.
- Wire the Charge Controller: Follow the manufacturer's RV solar panel installation wiring diagramto instructions to connect the charge controller to the battery bank. Use stranded copper wire and ensure correct polarity. Install a fuse on the wires for added safety.
Connect Multiple Solar Panels
- Choose Connection Type: If you have multiple solar panels, decide between series and parallel connections based on your desired voltage and current output. Series connections increase voltage; parallel connections increase current.
- Wiring in Series: Connect the positive terminal of one panel to the negative terminal of the next. Repeat this pattern for all panels. Wire the first and last panels to the charge controller.
- Wiring in Parallel: Connect the positive terminals of all panels together and the negative terminals together. Wire these groups to the charge controller. This approach is suitable for tight spaces like an RV.
Add Inverter to Power RV Appliances
- Choose the Right Inverter: If you plan to power 120V AC appliances, select an inverter based on your energy needs. Ensure the inverter's capacity matches the devices you intend to run.
- Position the Inverter: Install the inverter close to the battery bank, avoiding direct sunlight. Mount it securely to prevent movement during travel.
- Wire the Inverter: Connect the inverter to the battery terminals using appropriately sized wires. Add a fuse or circuit breaker between the inverter and battery for safety.
As you embark on your set-up solar panels for RV journey, remember that safety, attention to detail, and adherence to manufacturer instructions are paramount. If it is your first time to DIY solar panel RV installation, it is best to search rv solar panel installation near me for professional help.
Tips to Consider Before Solar Panel Installation

Embarking on a journey towards solar-powered adventures in your RV is an exciting endeavor. Before you dive into the installation process, here are some valuable tips to ensure a successful and hassle-free transition to a sustainable power source:
1. Assess Your Energy Needs
Before purchasing and installing solar panels, assess your energy requirements. Consider the appliances and devices you plan to power using solar energy. This evaluation will guide you in determining the number of panels and their capacity, ensuring you have sufficient power for your needs.
2. Choose High-Quality Solar Panels
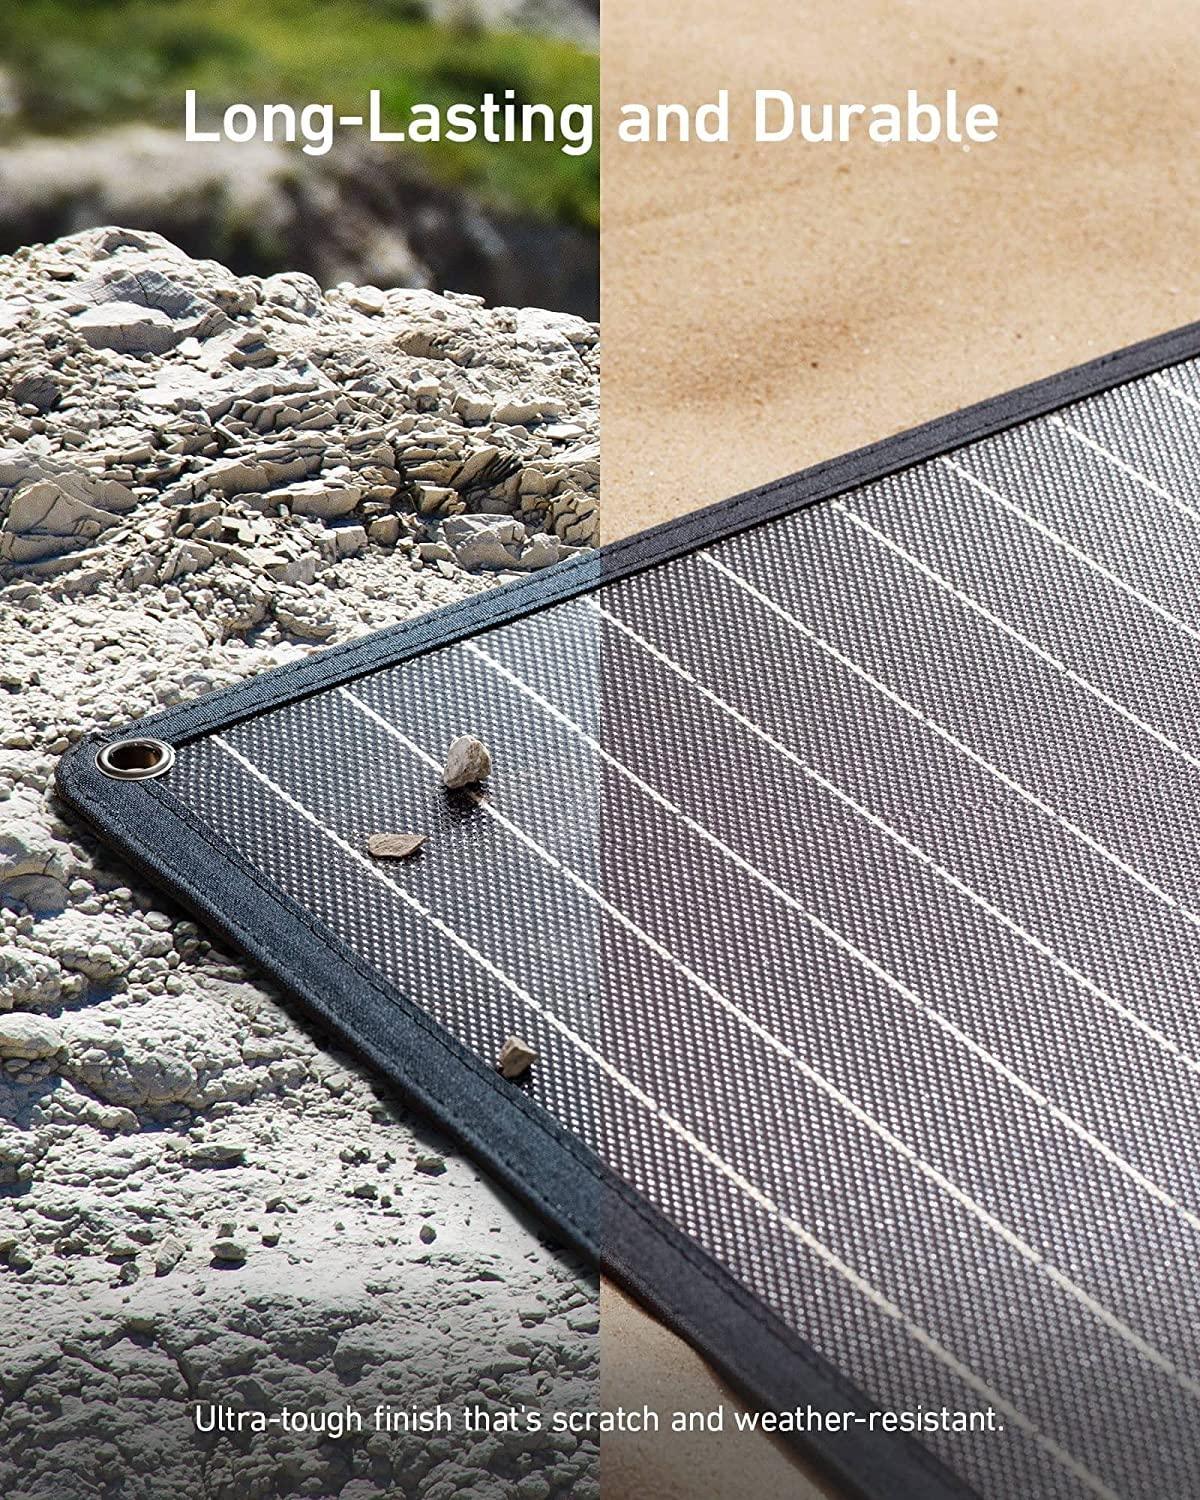
Investing in high-quality solar panels pays off in the long run. Opt for reputable brands that offer durability, efficiency, and reliable warranties. Though the cost to install solar panels on RV will become higher, quality panels guarantee optimal energy conversion and withstand the rigors of outdoor travel.
3. Calculate Your Roof Space
Calculate the available roof space on your RV for solar panel installation. The size of your roof determines the number of panels you can install. Keep in mind that panels should be strategically positioned to maximize sunlight exposure and efficiency.
4. Consider Weight Distribution
RVs have weight limits, and adding solar panels will contribute to the overall weight. Ensure that your RV's weight distribution remains within safe limits to maintain stability and avoid putting excess strain on your vehicle's structure.
5. Research Mounting Options
Explore different mounting options based on your RV type and panel choice. Fixed, flexible, and tilt mounts offer various advantages. Choose the option that suits your panel type, aesthetic preferences, and efficiency goals.
6. Understand Wiring Requirements
Understanding wiring requirements is crucial to ensure safe and efficient energy flow. Choose appropriate wire gauges based on the distance between panels, charge controller, battery bank, and appliances. Correct wiring minimizes power losses and enhances system performance.
7. Optimize Panel Angles
If you opt for tilt-mounted panels, consider the ideal angle for your geographical location. Research the sun's angle during different seasons to adjust your panels for maximum energy capture throughout the year.
8. Plan for Maintenance
Solar panels require minimal maintenance, but it's essential to plan for occasional cleaning and inspection. Keep the panels free from dirt, debris, and shading objects to maximize efficiency. Regularly inspect connections and wiring for any signs of wear or damage.
What to Avoid When Installing Solar Panels

Embarking on the journey to solar-powered RV adventures is both exciting and rewarding. However, there are a few pitfalls to avoid during the installation process to ensure a seamless transition to sustainable energy:
1. Skipping Roof Inspection
Before mounting solar panels with a solar gengerator, thoroughly inspect your RV's roof for any damage, leaks, or weak spots. Ignoring roof issues can lead to leaks, water damage, and compromised structural integrity. Address any existing problems before proceeding with the installation.
2. Improper Wiring
Incorrect wiring poses a significant risk of electrical fires and system failures. Avoid using inadequate wire gauges, failing to secure connections, and disregarding proper grounding techniques. Consult wiring guides and experts to ensure safe and efficient electrical connections.
3. Ignoring Shade Considerations
Shade significantly reduces the efficiency of solar panels. Avoid installing panels in shaded areas created by roof accessories like air conditioners, antennas, or vents. Prioritize unobstructed sunlight exposure to maximize energy generation.
4. Overlooking Panel Angles
Proper panel angle optimization is key to capturing maximum sunlight throughout the year. Avoid fixing panels at a single angle without considering the sun's position during different seasons. Research the optimal tilt angle for your geographical location to ensure consistent energy production.
5. Incorrect Charge Controller Placement
The charge controller is vital for managing the energy flow between the panels and the battery bank. Avoid placing the charge controller in direct sunlight or harsh weather conditions. Improper placement can lead to overheating and reduced controller lifespan.
6. Forgetting Roof Accessories
Remember to account for existing roof accessories when planning your panel layout. Avoid obstructing satellite dishes, TV antennas, and roof vents. Panels should not hinder the functionality of these accessories.
7. Rushing Through the Installation
Installing solar panels requires meticulous planning and execution. Avoid rushing through the process to complete it quickly. Take the time to accurately measure, align, and secure components to ensure a reliable and efficient solar system.
8. Ignoring Manufacturer Guidelines
Each solar panel and component comes with specific installation guidelines and recommendations from the manufacturer. Avoid disregarding these instructions or assuming a one-size-fits-all approach. Following manufacturer guidelines ensures optimal performance and warranty validity.
By steering clear of these common mistakes, you'll pave the way for hook up solar panels to RV successfully.
Conclusion
Embarking on the journey of installing solar panels can be both exciting and rewarding. By harnessing the power of the sun with this guide on how to install RV solar panels, you gain the freedom to explore off-grid destinations without sacrificing modern comforts. With careful planning, proper installation, and attention to safety, your RV solar setup can be a game-changer for your nomadic lifestyle.


